 MindMapper
Welcome to MindMapper! This guide will walk you through the first steps of creating your account and understanding your workspace dashboard.
Creating Your Account
Signing up for MindMapper is quick and easy. You have two options:
- Sign up with Google: This is the fastest way. Simply click "Continue with Google" and select your account.
- Sign up with Email: If you prefer, you can use your email address and a password. After signing up, you will receive a verification email. Click the link in the email to activate your account and log in.
Your Dashboard: The Command Center
Once you log in, you'll land on your dashboard. This is your personal workspace where all your mind maps and folders live.
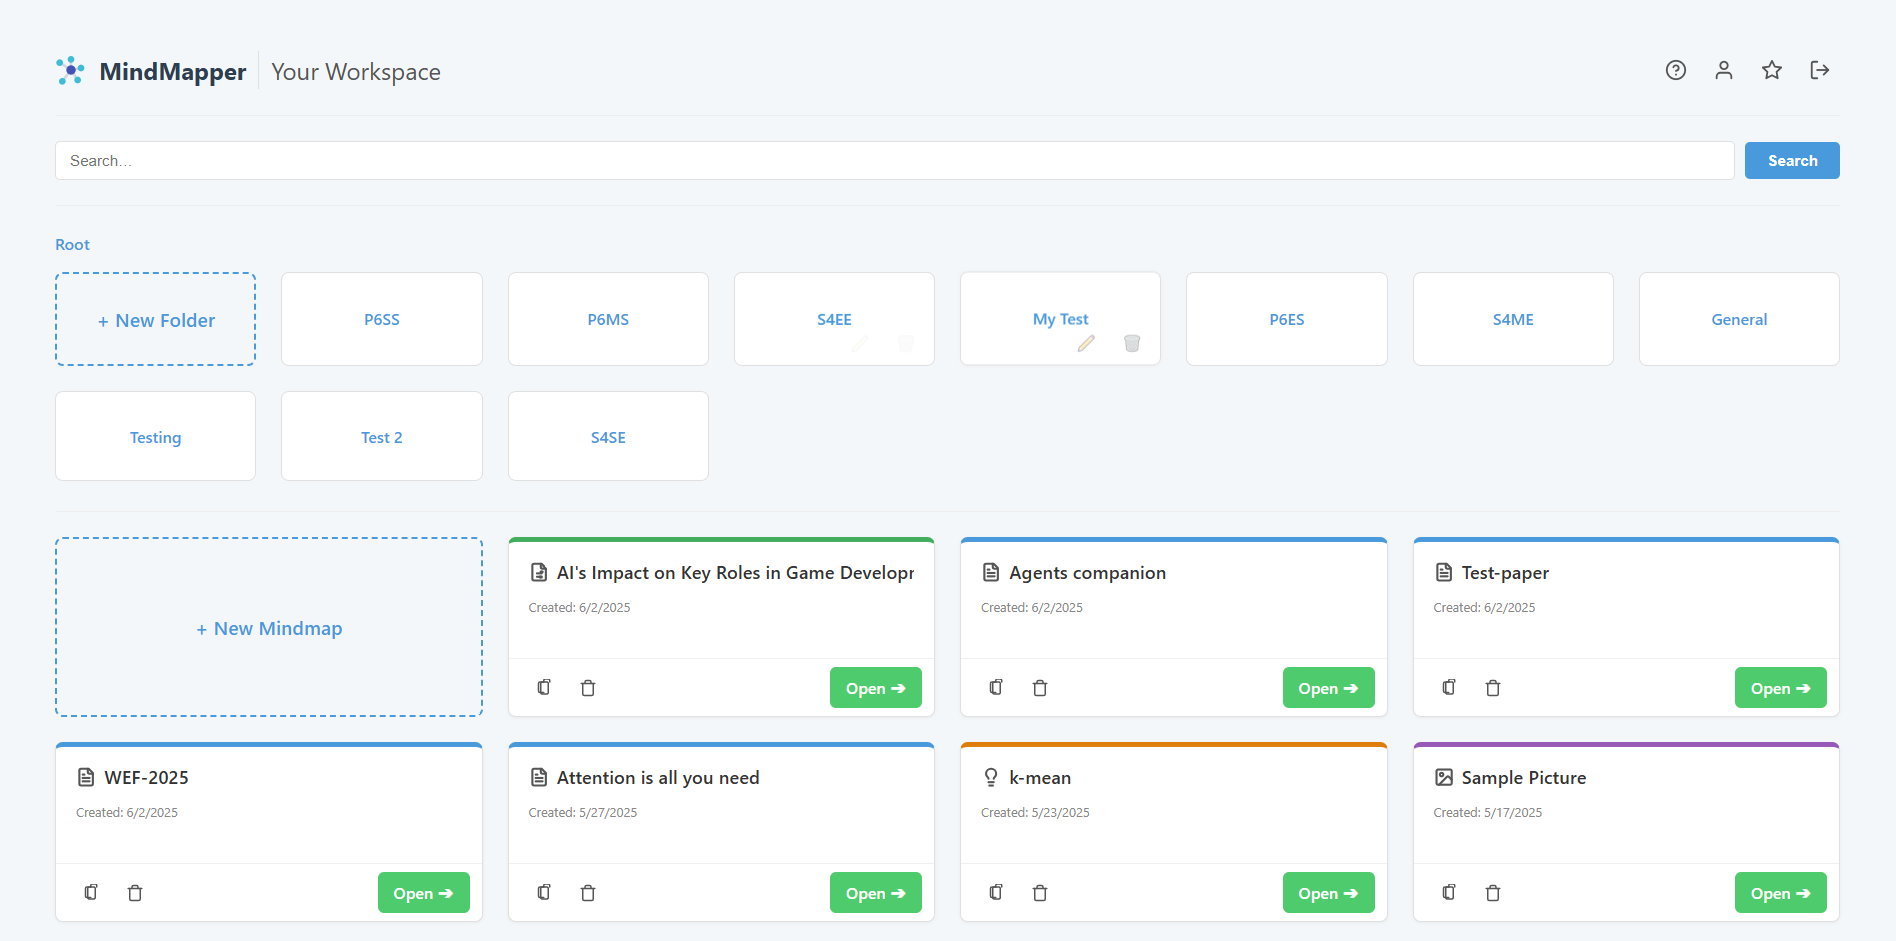
Here’s a quick tour:
- Header Controls (Top Right):
- Profile: View your account details like email and join date.
- Super Admin: (Visible to admins only) Access the admin panel.
- Logout: Securely sign out of your account.
- Help: Access this help center anytime.
- Search Bar: Quickly find any mind map by typing its name.
- Breadcrumb Navigation: This shows your current location (e.g., "Root"). As you enter folders, the path will appear here, allowing you to navigate back easily.
- Folder Grid: Any folders you create will appear here. Click a folder to open it.
- Mind Map List: This is where all mind maps in the current folder (or root) are displayed.
- Creator Cards: The cards with a "+" symbol are your starting points. Click "+ New Mindmap" to start creating a new map, or "+ New Folder" to organize your workspace.
Now that you're familiar with the dashboard, you're ready to create your first mind map!