 MindMapper
A tidy workspace leads to clearer thinking. MindMapper provides a simple yet powerful folder system to help you organize your mind maps effectively.
Creating Folders
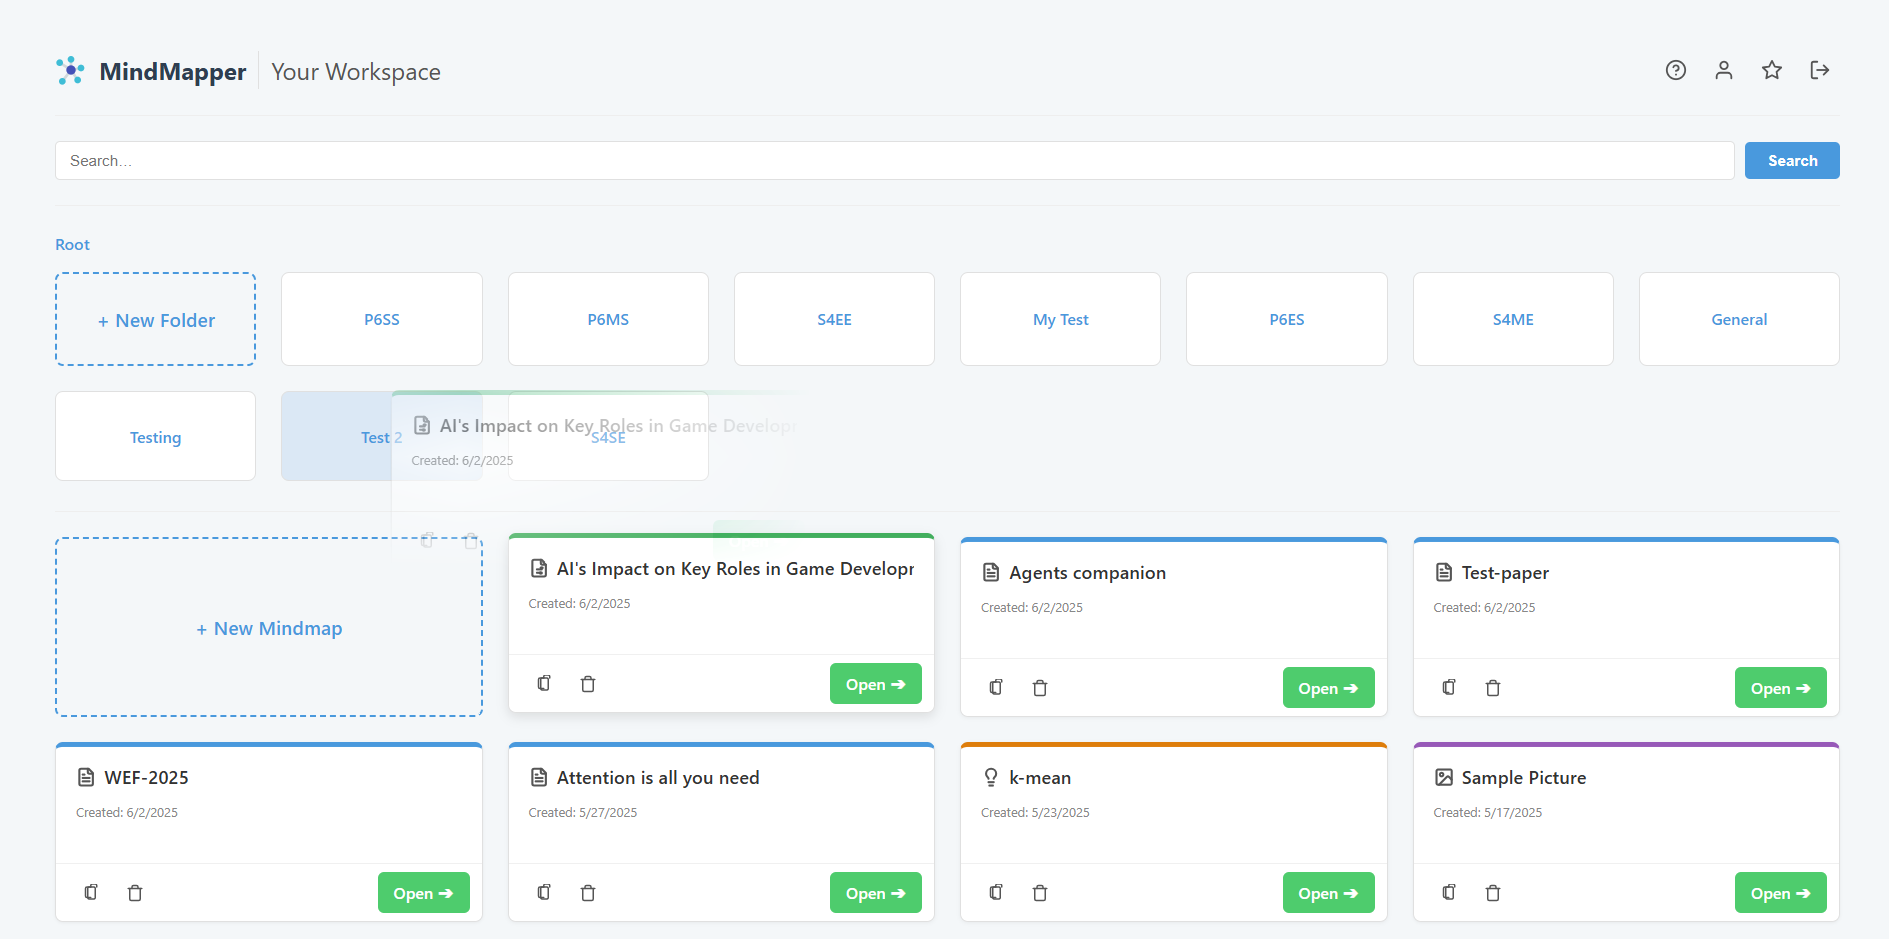
On your dashboard, you will see a card labeled "+ New Folder" in the folder grid area.
- Click the "+ New Folder" card.
- An input field will appear. Type the name for your new folder.
- Click the "Save" button or press Enter to create it.
Note: Free accounts are limited to 3 folders in the root directory. Upgrading to Pro unlocks unlimited folders and the ability to create sub-folders.
Navigating Folders
Simply click on any folder to enter it. The dashboard view will refresh to show the contents of that folder. The breadcrumb navigation at the top of the screen will show your current path (e.g., `Root / Project Alpha`) and allow you to click `Root` to go back to your main dashboard.
Moving Mind Maps into Folders
There are two easy ways to move a mind map into a folder:
Method 1: Drag and Drop (Easiest)
- Click and hold on the mind map card you want to move.
- Drag it over the destination folder. The folder will become highlighted.
- Release the mouse button to drop the map into the folder.
Method 2: The "Move" Button
- Hover over the mind map card and click the "Move" icon (it looks like a folder).
- A dialog will appear showing a list of your folders.
- Click the name of the folder where you want to move the map. You can also select "<Root>" to move it out of its current folder and back to the main dashboard.
Managing Folders
Hover over any folder card to reveal management icons:
- Rename (✏️ icon): Click the pencil icon to turn the folder's name into an editable field. Type the new name and press Enter to save.
- Delete (🗑️ icon): Click the trash icon to delete the folder. Warning: This action is permanent and will also delete all mind maps inside the folder. A confirmation prompt will appear to prevent accidental deletion.